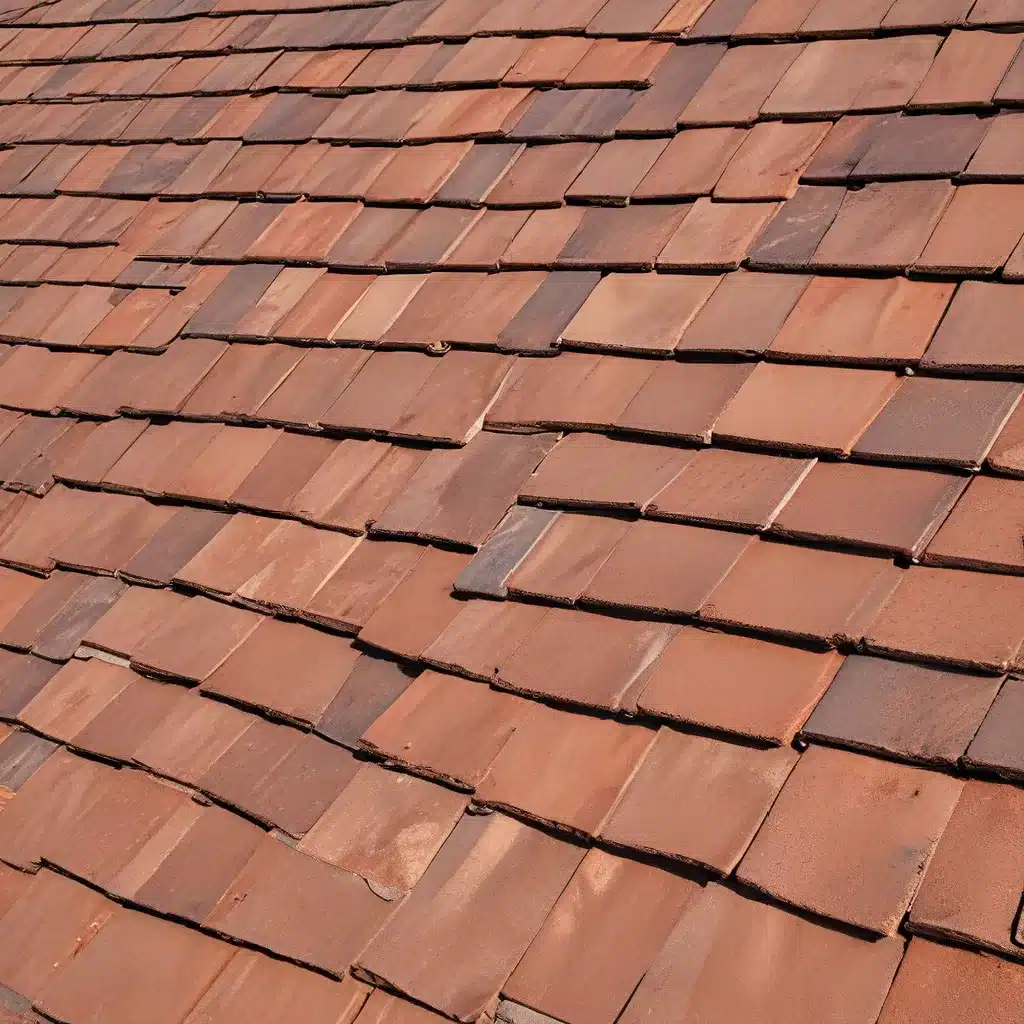
As a seasoned homeowner, I’ll let you in on a little secret – transforming your roof with ceramic tiles doesn’t have to be a daunting task. In fact, with the right know-how and a bit of elbow grease, you can give your home’s crowning glory a whole new lease on life.
Let’s dive right in, shall we? Imagine the possibilities – a vibrant, eye-catching roof that instantly boosts your home’s curb appeal and property value. Sounds pretty sweet, doesn’t it? Well, buckle up, because I’m about to show you how to make that dream a reality.
Preparing for the Tile Transformation
Before you start any DIY project, preparation is key. When it comes to revamping your roof with ceramic tiles, the first step is to assess the current state of your tiles. Are they cracked, faded, or just plain outdated? Take a good, hard look and make a plan of attack.
If you’ve got some serious damage on your hands, don’t worry – this is nothing a little TLC can’t fix. Grab your toolbelt and get ready to roll up your sleeves, because we’re about to get our hands dirty.
Start by giving your roof a thorough inspection. Identify any loose or damaged tiles, and make a note of the areas that need the most attention. This will help you stay organized and ensure that you tackle the project in the most efficient way possible.
Next, it’s time to gather your supplies. You’ll need a few key items, like a tile saw, a trowel, and of course, your trusty ceramic tiles. Don’t forget to factor in the size of your roof – you’ll want to make sure you have enough tiles to cover the entire area.
Tackling the Tile Removal
Alright, let’s get to the good stuff – tile removal. This part can be a bit of a workout, but trust me, it’s worth it. Start by carefully prying up the damaged tiles, being mindful not to cause any further destruction to the surrounding area.
As you remove the tiles, take note of the condition of the underlying roof surface. If you spot any signs of rot or water damage, it’s important to address those issues before moving forward. Neglecting these problems could lead to bigger headaches down the line, so it’s best to nip them in the bud.
Once you’ve cleared away the old tiles, it’s time to give the roof a good cleaning. Use a stiff-bristled brush and a mild cleaning solution to remove any debris or residue. This will ensure that your new tiles have a clean, smooth surface to adhere to.
Laying the New Tiles
Ah, the moment we’ve all been waiting for – the installation of the new ceramic tiles! This is where the real magic happens, my friends.
Start by applying a layer of mortar to the roof surface, using your trusty trowel. Be sure to spread it evenly and work in small, manageable sections. Then, carefully place your ceramic tiles, pressing them firmly into the mortar and ensuring that they’re level and properly spaced.
As you lay the tiles, keep an eye out for any gaps or uneven edges. These can be easily remedied with a tile saw or a grinder. And don’t be afraid to get creative – you can play around with different patterns and layouts to really make your roof stand out.
Once all the tiles are in place, it’s time to grout. This step is crucial, as it helps to seal and protect the tiles, ensuring a long-lasting and durable finish. Follow the manufacturer’s instructions carefully, and be sure to clean up any excess grout before it dries.
Finishing Touches and Maintenance
Congratulations, you’ve made it through the hard part! Now it’s time to add the finishing touches and enjoy your brand-new, stunning roof.
Consider adding a few decorative elements, like roof vents or finials, to really give your roof that extra oomph. These small touches can make a big difference in the overall look and feel of your home.
And let’s not forget about maintenance. Ceramic tiles are incredibly durable, but they still require a bit of TLC to keep them looking their best. Be sure to regularly inspect your roof for any signs of wear and tear, and address any issues promptly.
One of the great things about ceramic tiles is that they’re relatively easy to repair. If a tile does become cracked or damaged, you can simply remove it and replace it with a new one. This means you can keep your roof looking its absolute best for years to come.
So, there you have it – the secret to transforming your roof with ceramic tiles. It may take a bit of elbow grease, but trust me, the end result is more than worth it. Your home will be the envy of the neighborhood, and you’ll have the satisfaction of knowing that you did it all yourself.
Now, what are you waiting for? Grab your tools, put on your DIY hat, and let’s get to work! Your dream roof is just a few tiles away.