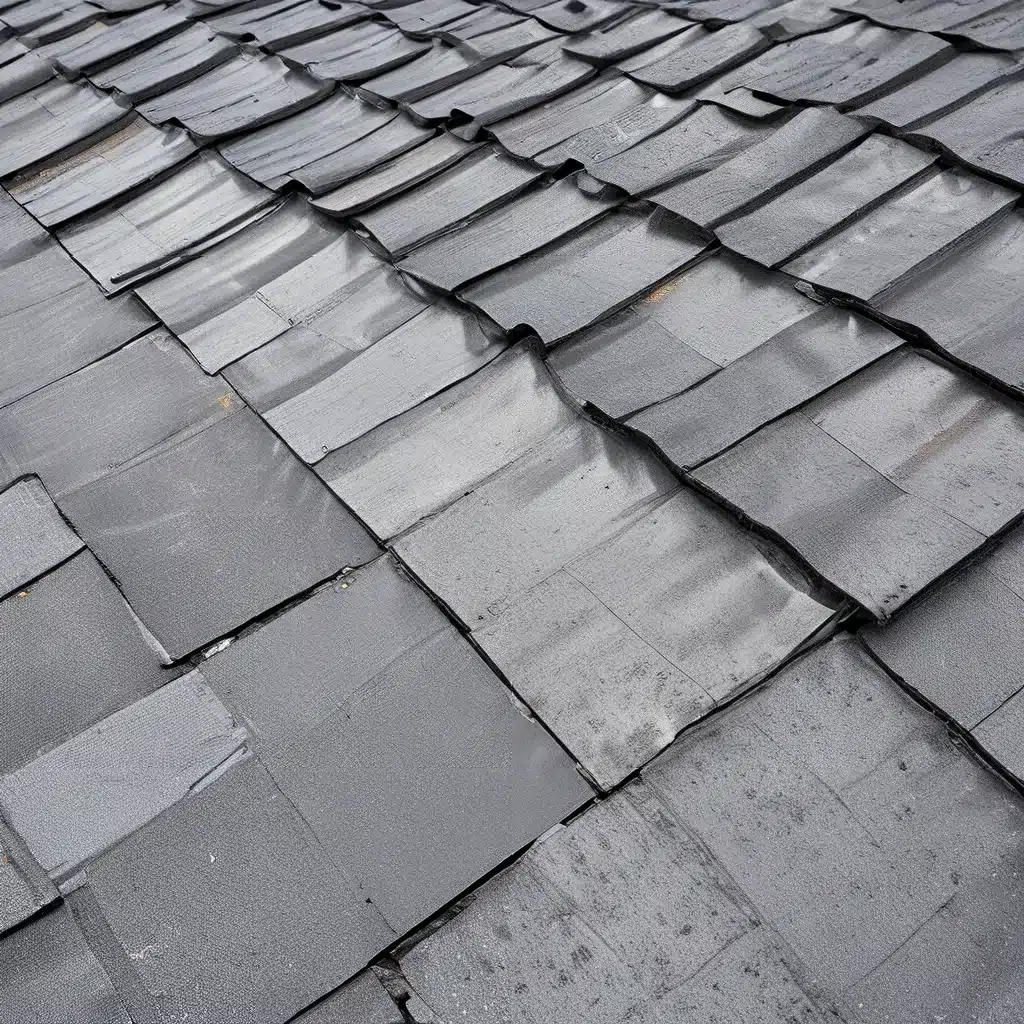
When it comes to maintaining a healthy and reliable roof, waterproofing is the name of the game. Leaks, drafts, and moisture infiltration can wreak havoc on your home, leading to costly repairs and potentially even structural damage. But fear not, my fellow DIY enthusiasts – I’m here to share some waterproofing wonders that will have your roof performing like a champ, all while saving you a pretty penny.
Tackling Roof Leaks: A Step-by-Step Guide
Let’s start with the basics – identifying and addressing those pesky roof leaks. After all, waterproofing is all about plugging those unwanted entry points for moisture. First, inspect your roof for any visible signs of damage, such as cracked or missing shingles, loose flashing, or even small holes. These are the usual suspects when it comes to roof leaks.
Once you’ve pinpointed the problem areas, it’s time to bust out the trusty sealant. I like to use a high-quality silicone-based roof sealant – it’s flexible, durable, and can create a watertight barrier that will keep the elements at bay. Simply clean the affected area, apply the sealant, and let it dry according to the manufacturer’s instructions. Easy peasy!
But what if the damage is a bit more extensive? No need to panic, my friend. Roof patch kits are a game-changer in these situations. These handy little packages come equipped with everything you need to tackle larger cracks, holes, or missing shingles. Just follow the step-by-step instructions, and you’ll be on your way to a weatherproof roof in no time.
Mastering Roof Waterproofing Membranes
Now, let’s talk about the big guns – waterproofing membranes. These are the heavy-hitters when it comes to creating a truly impenetrable barrier against the elements. Imagine your roof as a sturdy fortress, and these membranes are the reinforced walls that keep the water and the wind at bay.
There are several types of waterproofing membranes to choose from, each with its own unique advantages. Self-adhered membranes, for instance, are a popular choice for their ease of installation and superior adhesion properties. On the other hand, liquid-applied membranes offer a more seamless and customizable option, perfect for those hard-to-reach nooks and crannies.
No matter which route you decide to take, the key is to ensure proper surface preparation and attention to detail. Carefully clean the area, apply the membrane according to the manufacturer’s guidelines, and don’t skimp on the overlaps and seams. With a little elbow grease, you’ll have a roof that laughs in the face of even the most stubborn rainstorms.
Tackling Roof Penetrations and Flashing
But wait, there’s more! Waterproofing isn’t just about the roof itself – it’s also about managing those pesky roof penetrations and flashings. Think about all the vents, chimneys, and other protrusions that puncture your roof’s surface. These are prime locations for leaks and water infiltration if not properly sealed and flashed.
Here’s where your DIY skills can really shine. Start by carefully inspecting each roof penetration, ensuring that the flashing is in good condition and properly sealed. If you spot any cracks, gaps, or signs of wear, it’s time to break out the sealant and repair those trouble spots. Don’t be afraid to get creative with custom-fitted flashing or even roof boots – these specialized products are designed to create a tight, waterproof seal around those tricky roof elements.
And let’s not forget about the edges of your roof, where the shingles meet the walls or other structures. This is another prime location for potential leaks, so be sure to pay close attention to the roof-to-wall flashing. A well-installed and properly sealed flashing system can make all the difference in keeping your home dry and protected.
Embracing the Power of Roof Coatings
Now, if you’re looking to take your waterproofing game to the next level, consider investing in a roof coating. These specialized products are essentially like a superhero cape for your roof, shielding it from the elements and enhancing its overall performance.
There are numerous types of roof coatings to choose from, each with its own unique properties and benefits. Acrylic coatings, for instance, are known for their excellent UV resistance and ability to reflect heat, while elastomeric coatings offer superior flexibility and the ability to bridge small cracks and gaps.
The key to getting the most out of a roof coating is proper surface preparation and application. Be sure to clean the roof thoroughly, remove any loose debris or flaking paint, and apply the coating in accordance with the manufacturer’s instructions. With a little elbow grease and attention to detail, you’ll have a roof that’s as good as new – and perhaps even better!
Maintaining Your Waterproofing Wonders
Of course, no matter how diligent you are with your waterproofing efforts, it’s important to remember that regular maintenance is the key to long-term success. Periodically inspect your roof for any signs of wear or damage, and address any issues promptly. This will help ensure that your waterproofing solutions continue to perform at their best, keeping your home dry and protected for years to come.
And let’s not forget about the power of preventative measures. Simple steps like keeping your gutters clean, trimming overhanging branches, and ensuring proper attic ventilation can go a long way in safeguarding your roof from the elements. After all, an ounce of prevention is worth a pound of cure, as they say.
So, there you have it, my fellow roof warriors – a veritable waterproofing wonderland of DIY techniques and strategies. Whether you’re tackling a pesky leak or aiming to fortify your roof against the harshest conditions, I hope these tips and tricks have given you the confidence and know-how to take on the challenge with gusto.
Remember, a waterproof roof is not just a matter of practicality – it’s a testament to your DIY prowess and your commitment to protecting your most valuable asset. So, grab your tools, channel your inner roofer, and let’s get to work on creating a leak-free, weatherproof masterpiece. Happy waterproofing, my friends!