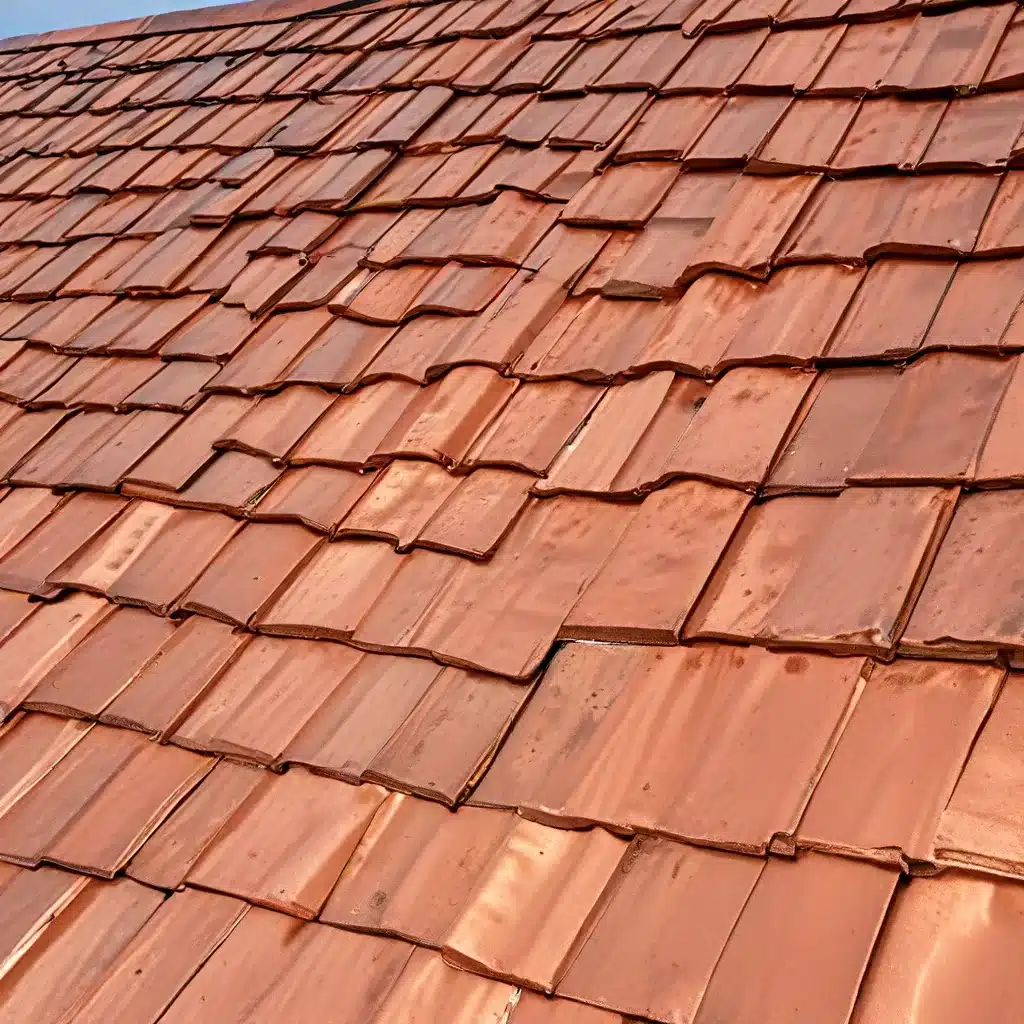
Ah, the allure of a copper roof – it’s a mesmerizing sight that captivates the eye and elevates the entire aesthetic of a home. Whether you’re a budding DIY enthusiast or a seasoned home improvement maven, the prospect of tackling a copper roofing project can be both exhilarating and daunting. But fear not, my friends, for I’m about to take you on a journey that will have you unleashing the beauty of copper in no time.
The Copper Conundrum: Unraveling the Mysteries
As I delve into the world of copper roofing, I can’t help but feel a sense of excitement and wonder. This versatile metal has been gracing the rooftops of stately manors, historic churches, and even modern abodes for centuries, and for good reason. Its durability, corrosion resistance, and striking appearance make it a true standout in the roofing realm.
But let’s be honest, the thought of installing a copper roof can be a bit intimidating, especially for the DIY-er. Questions swirl in our minds: “How difficult is it, really?” “What kind of tools and materials do I need?” “Will I end up with a professional-looking result, or will it be a DIY disaster?” Fear not, my friends, for I’m here to guide you through the process, one step at a time.
Preparing for the Copper Conquest
Before you even think about picking up a hammer and nails, it’s crucial to do your homework. Copper roofing is a unique and specialized craft, and proper preparation is the key to a successful project. Start by researching the local building codes and regulations in your area – some municipalities may have specific requirements or restrictions when it comes to copper roofing.
Next, take a close look at your existing roof structure. Copper is a hefty material, and it’s essential that your underlying framework can support the weight. If you’re unsure, it’s always a good idea to consult with a professional roofer or structural engineer to ensure your home is ready for the copper transformation.
Mastering the Copper Craftsmanship
Now, it’s time to roll up your sleeves and dive into the hands-on portion of the project. Depending on the size and complexity of your roof, you may want to enlist the help of a trusted friend or family member. After all, teamwork makes the dream work, am I right?
Southern Roofing Co. recommends starting with a thorough cleaning of the existing roof surface. This will help ensure a smooth and secure base for your copper panels. Once that’s done, it’s time to break out the tools – you’ll need a metal shear, a crimping tool, and a mallet, among other essentials.
As you carefully measure and cut the copper panels to fit your roof’s dimensions, don’t forget to leave ample overlap to ensure a watertight seal. The crimping tool will be your best friend here, helping you create the signature standing seam that gives copper roofs their distinctive look.
Patience and attention to detail are crucial throughout this process. Take your time, double-check your measurements, and don’t be afraid to make adjustments as you go. The end result will be well worth the effort, I promise.
Weathering the Elements: Copper’s Enduring Charm
One of the most alluring aspects of copper roofing is its ability to evolve and transform over time. As the metal is exposed to the elements, it will develop a natural patina, transitioning from a brilliant, reflective surface to a warm, rustic hue.
This color change is not a flaw, but rather a testament to copper’s remarkable durability and resilience. In fact, many homeowners and architects actively embrace this patina process, seeing it as a unique and captivating feature that adds character and charm to the overall aesthetic.
Embracing the Copper Continuum: Maintenance and Care
Of course, with great beauty comes great responsibility, and copper roofing is no exception. To ensure your investment stands the test of time, it’s crucial to maintain and care for your copper roof properly.
Regular inspections and prompt attention to any minor repairs or leaks are essential. Additionally, you may want to consider applying a protective sealant every few years to help preserve the copper’s luster and prevent premature oxidation.
Remember, copper is a living, breathing material, and its natural evolution is all part of its allure. Embrace the changes, and take pride in the fact that your roof is a unique, one-of-a-kind masterpiece.
Unlocking the Copper Potential: Endless Possibilities
As I reflect on my journey into the world of copper roofing, I can’t help but be in awe of the endless possibilities this material presents. From the grand, historic structures that have stood the test of time to the modern, sleek designs that push the boundaries of architectural innovation, copper has a way of elevating any space.
Whether you’re drawn to the warm, rustic tones or the brilliant, reflective shine, the beauty of copper is truly in the eye of the beholder. And with a little bit of elbow grease and a lot of creativity, you too can unleash the full potential of this stunning roofing material.
So, what are you waiting for? Grab your tools, dive into the DIY adventure, and let your copper roofing dreams take flight. The rewards, both aesthetic and practical, are well worth the journey.