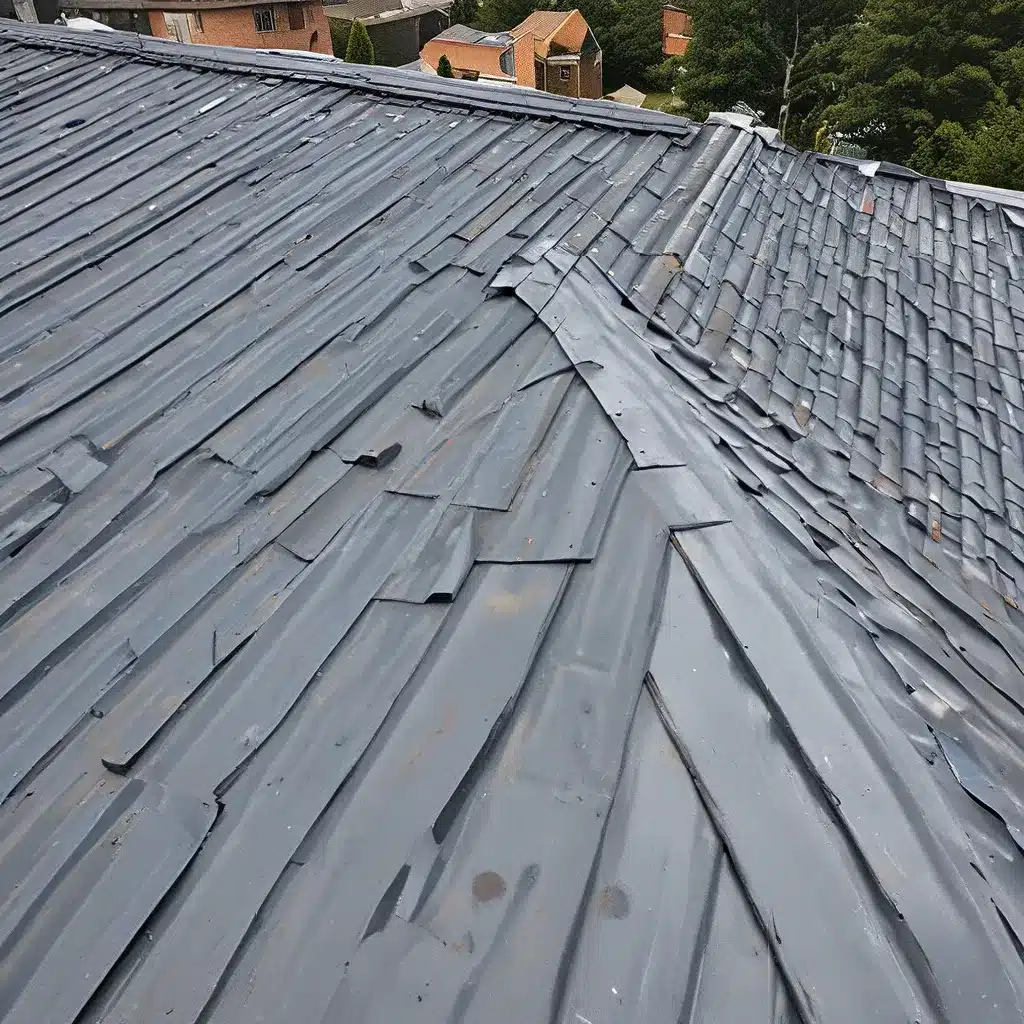
As a proud homeowner, the prospect of installing a new metal roof can be both exciting and daunting. But fear not, my friends! I’ve got your back. In this comprehensive guide, I’ll walk you through the key steps and share valuable insights to ensure your metal roof installation is nothing short of flawless.
The Roof’s Geometry: The Backbone of Your Project
First and foremost, the geometry of your roof is of utmost importance, as it will dictate the overall complexity of the job. Steep roofs, in particular, present more significant challenges for installation. The roof’s slope and length are factors that demand thoughtful assessment, determining whether you can use a single panel or if you’ll require machinery to roll longer panels directly onto the roof.
In the residential space, it’s ideal to have sheathing and a substrate underneath the metal roofing panels. But don’t be fooled – using tar or felt paper is an outdated practice that you shouldn’t even consider. Instead, I recommend opting for a synthetic underlayment designed to handle high temperatures, as it can truly make a difference and last the life of your metal roof (which can be upward of 30 years!).
Ventilating for Optimal Performance
But the installation process doesn’t stop there. You must also consider the attic space. A metal roof install goes beyond ensuring your roof deck and roofing materials are up to par. Having a properly ventilated attic is essential. By guaranteeing a well-ventilated attic space, you can account for proper moisture control and heat regulation, which can extend the lifespan of your roof. And the best part? You’ll also reap the benefits of a more energy-efficient home and improved indoor air quality.
Tailoring Your Roof to the Elements
Now, let’s talk about the region and how it might influence your product selection in the metal roofing process. The most significant weather-related element to consider is wind. If you’re in an area subject to high-wind speeds on the regular, you may need to incorporate a mechanically seamed panel instead of a snap-lock panel. And in Northern climates, be mindful of the snow load you encounter and make sure your product choice can withstand the heaviness of snow and ice. Remember, the closer and deeper the panel ribs are, the stronger it is.
The region can also affect your color choice and aesthetics. In the South, it’s more common to see lighter metal roofs, whereas darker colors are much more prominent in the North. And if you live in a marine or coastal environment, you’ll want to choose an aluminum-based product to avoid rust.
Avoiding Common Installation Pitfalls
Now, let’s talk about some of the top installation mistakes I’ve seen, and how to steer clear of them:
-
Improper Storage: If your metal roofing arrives at the job site before you’re ready to install it, it’s crucial that you store it properly. Depending on the manufacturer, some panels will have a protective plastic film on top, and it’s essential not to leave these out in the open, as the sun can bake the plastic into the metal, making it extremely difficult to remove. Remember to cover it with a breathable canvas to keep it from getting wet.
-
Cutting Orientation: When cutting down your metal panels, you’ll want to do it upside down if using a saw. Doing this will ensure the cut shavings go on the panel’s underside and not on the exterior, minimizing the risk of damaging the exterior paint.
-
Compatibility is Key: Whenever installing a metal roof, you should think of everything as a system that needs to work together to function fully. Therefore, you’ll need to work with the roofing manufacturer to ensure all sealants, fasteners, and other components are compatible with your panel choice.
-
Use Touch-Up Paint Sparingly: You’ll often have a touch-up paint pen that will allow you to cover up scratches and other imperfections made during installation. But be cautious – over time, this paint will age differently from the rest of the panel, so you’ll want to use it only where needed. The area should be adequately cleaned, and if you need to apply more than one coat, wait until the first is fully dry.
Putting It All Together
While there are nuances to any project, you can follow this simple checklist to ensure your metal roofing installation is a true success:
- Ensure your job site is safe: Make sure all ladders are adequately positioned and tied off, and wear soft-soled shoes that make moving around on the roof deck easy.
- Check the sheathing: Ensure the sheathing is in good condition and as straight and flat as possible, as metal doesn’t always cover up issues in the OSB.
- Install the underlayment properly: Follow the manufacturer’s guidelines to ensure the roofing underlayment is installed correctly.
- Prep the roof: Make sure the roof is clean, dry, and free of debris before installing the metal panels.
- Start square: Get the first panel square to the eave of the roof, as it’s critical to a successful installation.
- Plan accordingly: You may want to start and end with a partial panel to achieve symmetry.
- Install the panels: Follow the manufacturer’s instructions and add the clips and fasteners at the correct spacings, especially in high-wind areas.
- Finish strong: Make any final panel alterations, install ridge caps and rake trim, and clean up any leftover material, screws, and sealant.
Remember, the key to a flawless metal roof installation lies in meticulous planning, attention to detail, and a deep understanding of the process. With this guide in your arsenal, you’ll be well on your way to transforming your home with a stunning, long-lasting metal roof that’s the envy of the neighborhood.
And if you ever need a helping hand, don’t hesitate to reach out to the experts at Southern Roofing Co. – they’ve got the knowledge and know-how to bring your vision to life, no matter the scope of the project.