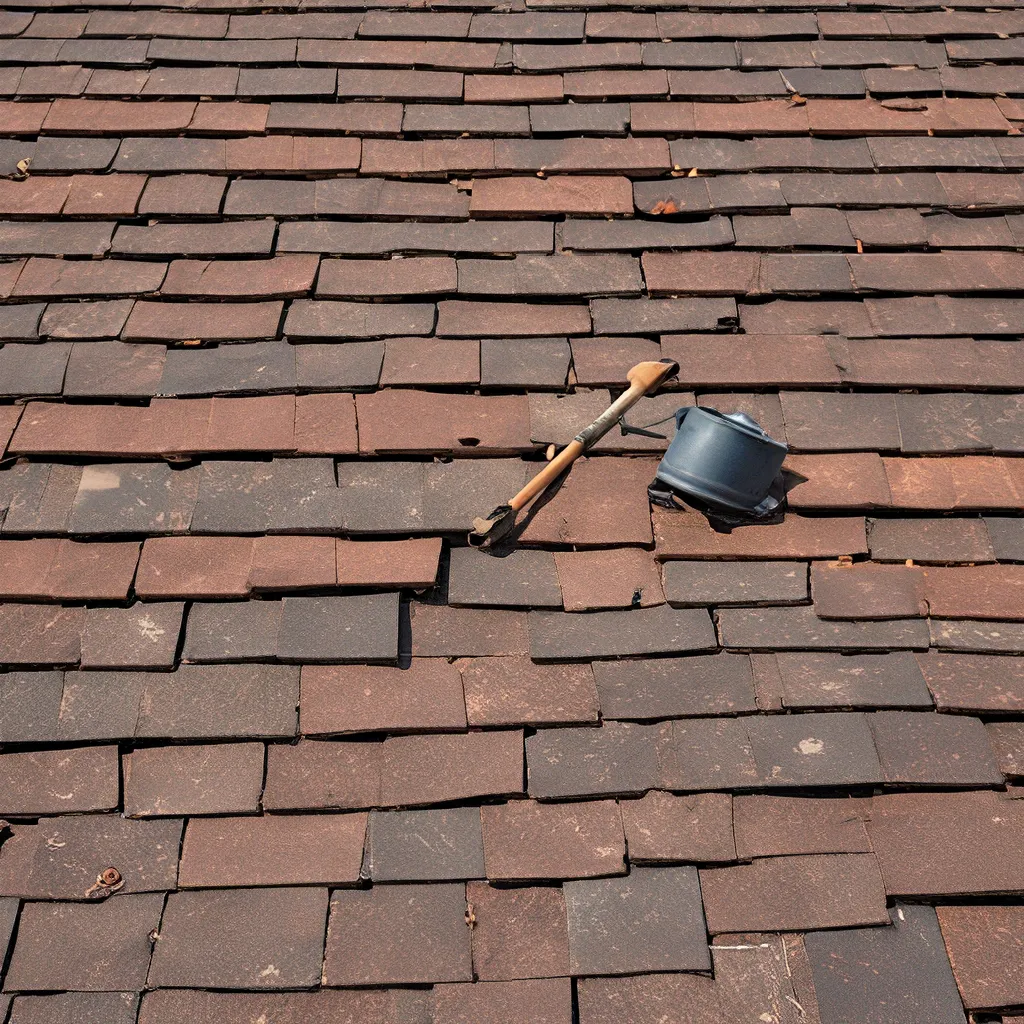
As a seasoned homeowner, I know all too well the dread that comes with the thought of reroofing. It’s a daunting task, filled with potential pitfalls and costly mistakes. But guess what? I’m here to tell you that reroofing doesn’t have to be a nightmare. In fact, with the right guidance and a little elbow grease, you can tackle this project like a pro and save a bundle in the process.
Assessing the Situation
Before we dive in, let’s take a step back and assess the situation. Not all roofs are created equal, and what works for one house might not be suitable for another. The best roofs for DIYers are typically the simple ones – those without too many valleys, dormers, or steep slopes. The ideal weather for reroofing is dry and mild, usually in the early to late spring or early to mid-fall.
Now, I know what you’re thinking: “But my roof is a hot mess, and the weather is always unpredictable.” Don’t worry, my friend. With a little planning and the right safety precautions, you can still tackle this project and come out on top.
Safety First
Before we get our hands dirty, let’s talk about the safety considerations for DIY roofers. I’ve learned the hard way that falling off a roof can lead to some pretty nasty bruises (and a bruised ego). But the good news is, as long as you follow a few simple guidelines, you can minimize the risks and keep yourself and your family safe.
First and foremost, make sure you have a sturdy ladder and that it’s properly secured. Never try to climb up to the roof without a solid foundation. Secondly, invest in some quality safety gear, like non-slip shoes, gloves, and a harness if you’re working on a steep slope.
And let’s not forget about the debris. Reroofing can be a messy business, with thousands of nails raining down from the roof. Invest in some large tarps to protect your plants and landscaping, and be prepared to handle the cleanup.
The Tear-Off
Alright, now that we’ve got the safety stuff out of the way, let’s talk about the actual reroofing process. The first step is to tear off the old roofing shingles and underlayment. This can be a real workout, but it’s essential to ensure a solid foundation for your new roof.
Start by prying off the ridge cap shingles with a pry bar, then transition to a roofing tear-off shovel for the rest. Work your way from the ridge down to the eaves, making sure to remove all the old nails or pound them flat. And don’t forget to inspect the decking for any signs of water damage or rot – you’ll want to replace any questionable areas before moving on.
Prepping the Roof
With the old roofing materials cleared away, it’s time to start prepping the roof for the new shingles. This is where the drip edge, underlayment, and roof felt come into play.
First, fasten the drip edge that covers the fascia along the eaves. This helps prevent water from seeping in and rotting the edges of the decking.
Next, it’s time to install the self-stick underlayment, also known as the “ice-and-water barrier.” This nifty little product creates a watertight seal around nails and helps prevent water damage to the decking. Be sure to lay it out smoothly and avoid any ripples or lumps.
Finally, cover the roof with roofing felt paper. This lightweight material provides an additional layer of protection and helps the shingles adhere better to the surface.
Shingling the Roof
Alright, now for the fun part – installing the new shingles! This is where you’ll really see the transformation take shape.
Start by laying a row of starter shingles along the eaves, making sure the adhesive strip is facing up and the leading edge extends past the drip edge. Then, work your way up the roof, following the manufacturer’s nailing instructions and staggering the seams to create that classic shingle pattern.
As you progress, be sure to snap a horizontal line every few rows to keep things straight. And when you get close to the ridge, adjust the reveal (the portion of the shingle that’s exposed) to ensure a seamless transition.
Finishing Touches
We’re almost there, folks! The last step is to cap the ridge and hip ridges with the appropriate shingles. These special pieces are designed to provide an extra layer of protection and give your roof a polished, professional look.
But wait, there’s more! Don’t forget to seal those exposed nails on your vents and stack flashing. A little dab of roof sealant can go a long way in preventing future leaks.
The Final Reveal
And just like that, your new roof is complete! Take a step back and admire your handiwork. Sure, it might have been a bit of a journey, but you did it – you conquered the reroofing beast!
Now, I know what you’re thinking: “But what if I mess something up?” Well, fear not, my friend. Even the best roofers make mistakes, and that’s why it’s always a good idea to have a professional roofing company on standby, just in case.
So, there you have it – reroofing made easy. With a little planning, a lot of elbow grease, and a healthy dose of caution, you can transform your roof from an eyesore to the crown jewel of your home. Happy reroofing, folks!