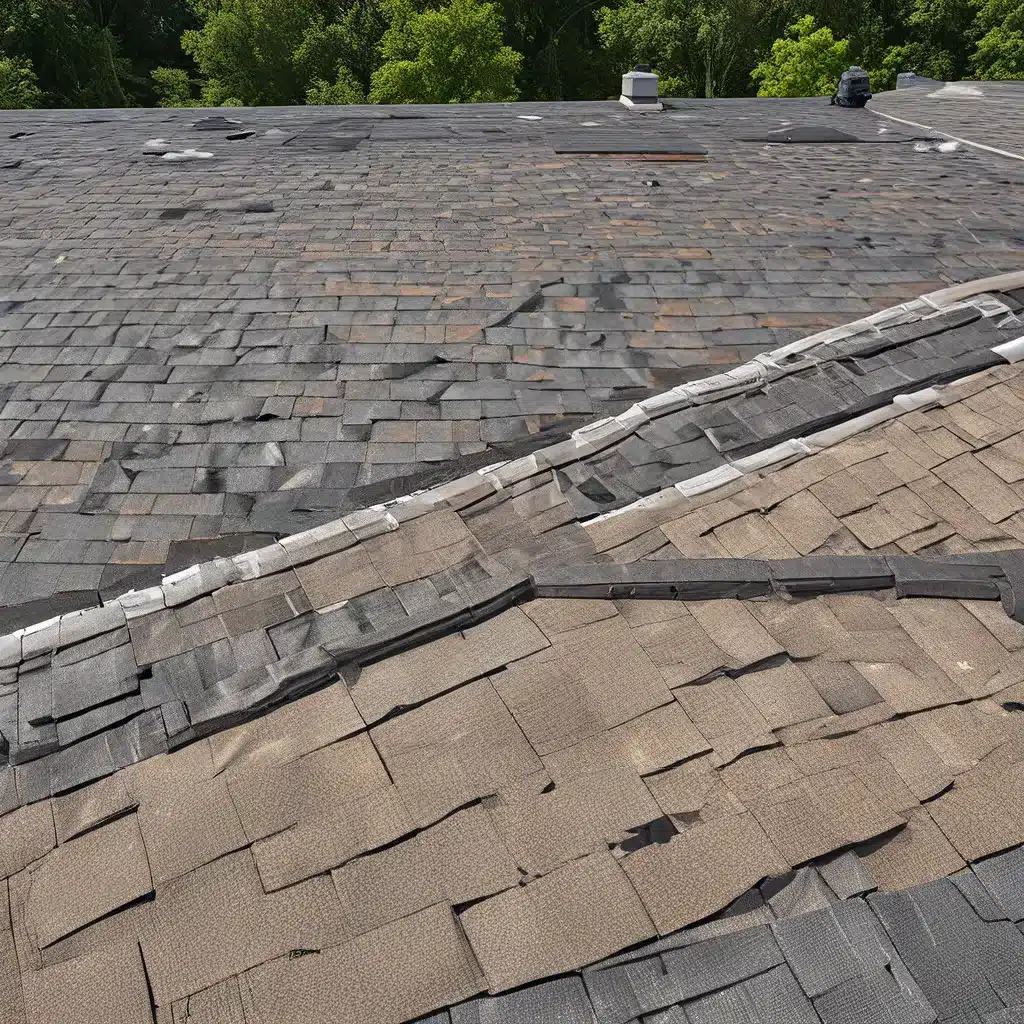
Ah, the dreaded roof replacement – an expense no homeowner ever wants to face. But you know what they say, “When life gives you a leaky roof, it’s time to get your hammer and nails ready!” Okay, maybe that’s not a real saying, but the point is, roof replacement is an inevitable part of home ownership. The good news? With a little planning and elbow grease, you can tackle this project like a pro.
Assess the Situation
Before diving headfirst into a roof replacement, it’s essential to do your due diligence. Take a close look at your current roof and ask yourself a few key questions:
-
How old is your roof? According to the Family Handyman, most asphalt shingle roofs have a lifespan of 20-25 years. If your roof is approaching or has exceeded this age, it’s probably time for a replacement.
-
Are there any visible signs of damage? Look for cracked, curled, or missing shingles, as well as areas where the roof is sagging or stained. These could be indicators that it’s time to start planning a roof replacement.
-
Do you have any leaks or water damage? Even a small leak can lead to big problems down the line, so don’t ignore those drips. If you’re dealing with water infiltration, that’s a clear sign that a replacement is necessary.
Understand the Risks and Safety Considerations
Replacing a roof is no walk in the park – it’s a physically demanding job with some inherent risks. Chris Deziel from the Family Handyman warns that falls from roofs can lead to serious injuries, so safety should be a top priority.
Before you even think about climbing up there, make sure you’ve got the right safety gear – sturdy boots, a harness, and a solid understanding of roof safety protocols. It’s also a good idea to relocate any movable items near the house to prevent damage from falling debris.
Prepare the Roof Deck
Once you’ve determined that a roof replacement is necessary, it’s time to start the actual work. The first step is to remove the old roofing materials, including shingles, underlayment, and any damaged sections of the roof deck.
This can be a messy and time-consuming process, so it’s a good idea to invest in some large tarps to protect your landscaping and catch those pesky nails. If you have an old, stubborn underlayment that just won’t budge, don’t worry – Deziel says it’s okay to leave it in place as long as the new roof can be installed on top of it.
As you’re tearing off the old roof, keep an eye out for any damaged or rotted sections of the roof deck. Replace these areas with CDX plywood or OSB of the same thickness, being careful not to cut into any joists in the process.
Install the Underlayment and Drip Edge
With the old roof removed, it’s time to start building your new one. Begin by installing the self-stick ice-and-water underlayment, which helps prevent water damage to the roof deck. Make sure to lay it flat and smooth, overlapping each course by at least 2 inches.
Next, fasten the metal drip edge along the eaves. This provides a nice finished look, prevents shingles from curling over the edge, and keeps water from rotting the decking and fascia.
Lay the Roofing Felt
Now it’s time to cover the roof with roofing felt paper. Deziel recommends using a lightweight 15-lb paper, unless local codes require something heavier. Start at the eaves and work your way up, overlapping each course by at least 2 inches.
For roofs with multiple peaks and valleys, you’ll want to install metal valley flashing to prevent leaks. This is a crucial step, so don’t skip it!
Shingle Time
Alright, the moment of truth has arrived – it’s time to start laying those shingles! Begin by running a row of starter shingles along the eave, making sure the adhesive strip is facing up. Then, follow the manufacturer’s instructions for nailing pattern and exposure.
As you work your way up the roof, be sure to maintain a consistent reveal (the portion of the shingle that isn’t covered by the one above it). Snap a horizontal line every few rows to keep things straight and tidy.
When you reach the ridge, wrap the shingles over the top and seal them in place with ridge cap shingles. For hipped roofs, you’ll need to carefully install the hip ridge cap shingles, nailing them on both sides.
Finishing Touches
With the shingles in place, it’s time to tackle the final details. Seal any exposed nails on your vents and stack flashing, using a high-quality sealant like Lexel. This will help prevent leaks and ensure your roof stays watertight for years to come.
Finally, take a moment to admire your handiwork and sweep away any remaining debris. Remember, a well-planned and executed roof replacement can add significant value to your home, not to mention keeping your family dry and cozy.
So, are you ready to don your tool belt and take on this “roof-tastic” adventure? Just head over to Southern Roofing Co. for all the expert advice and supplies you’ll need to make your roof replacement project a roaring success!